DIY Tips: Creating Your Own Acrylic Card Display


Introduction to Acrylic Card Displays
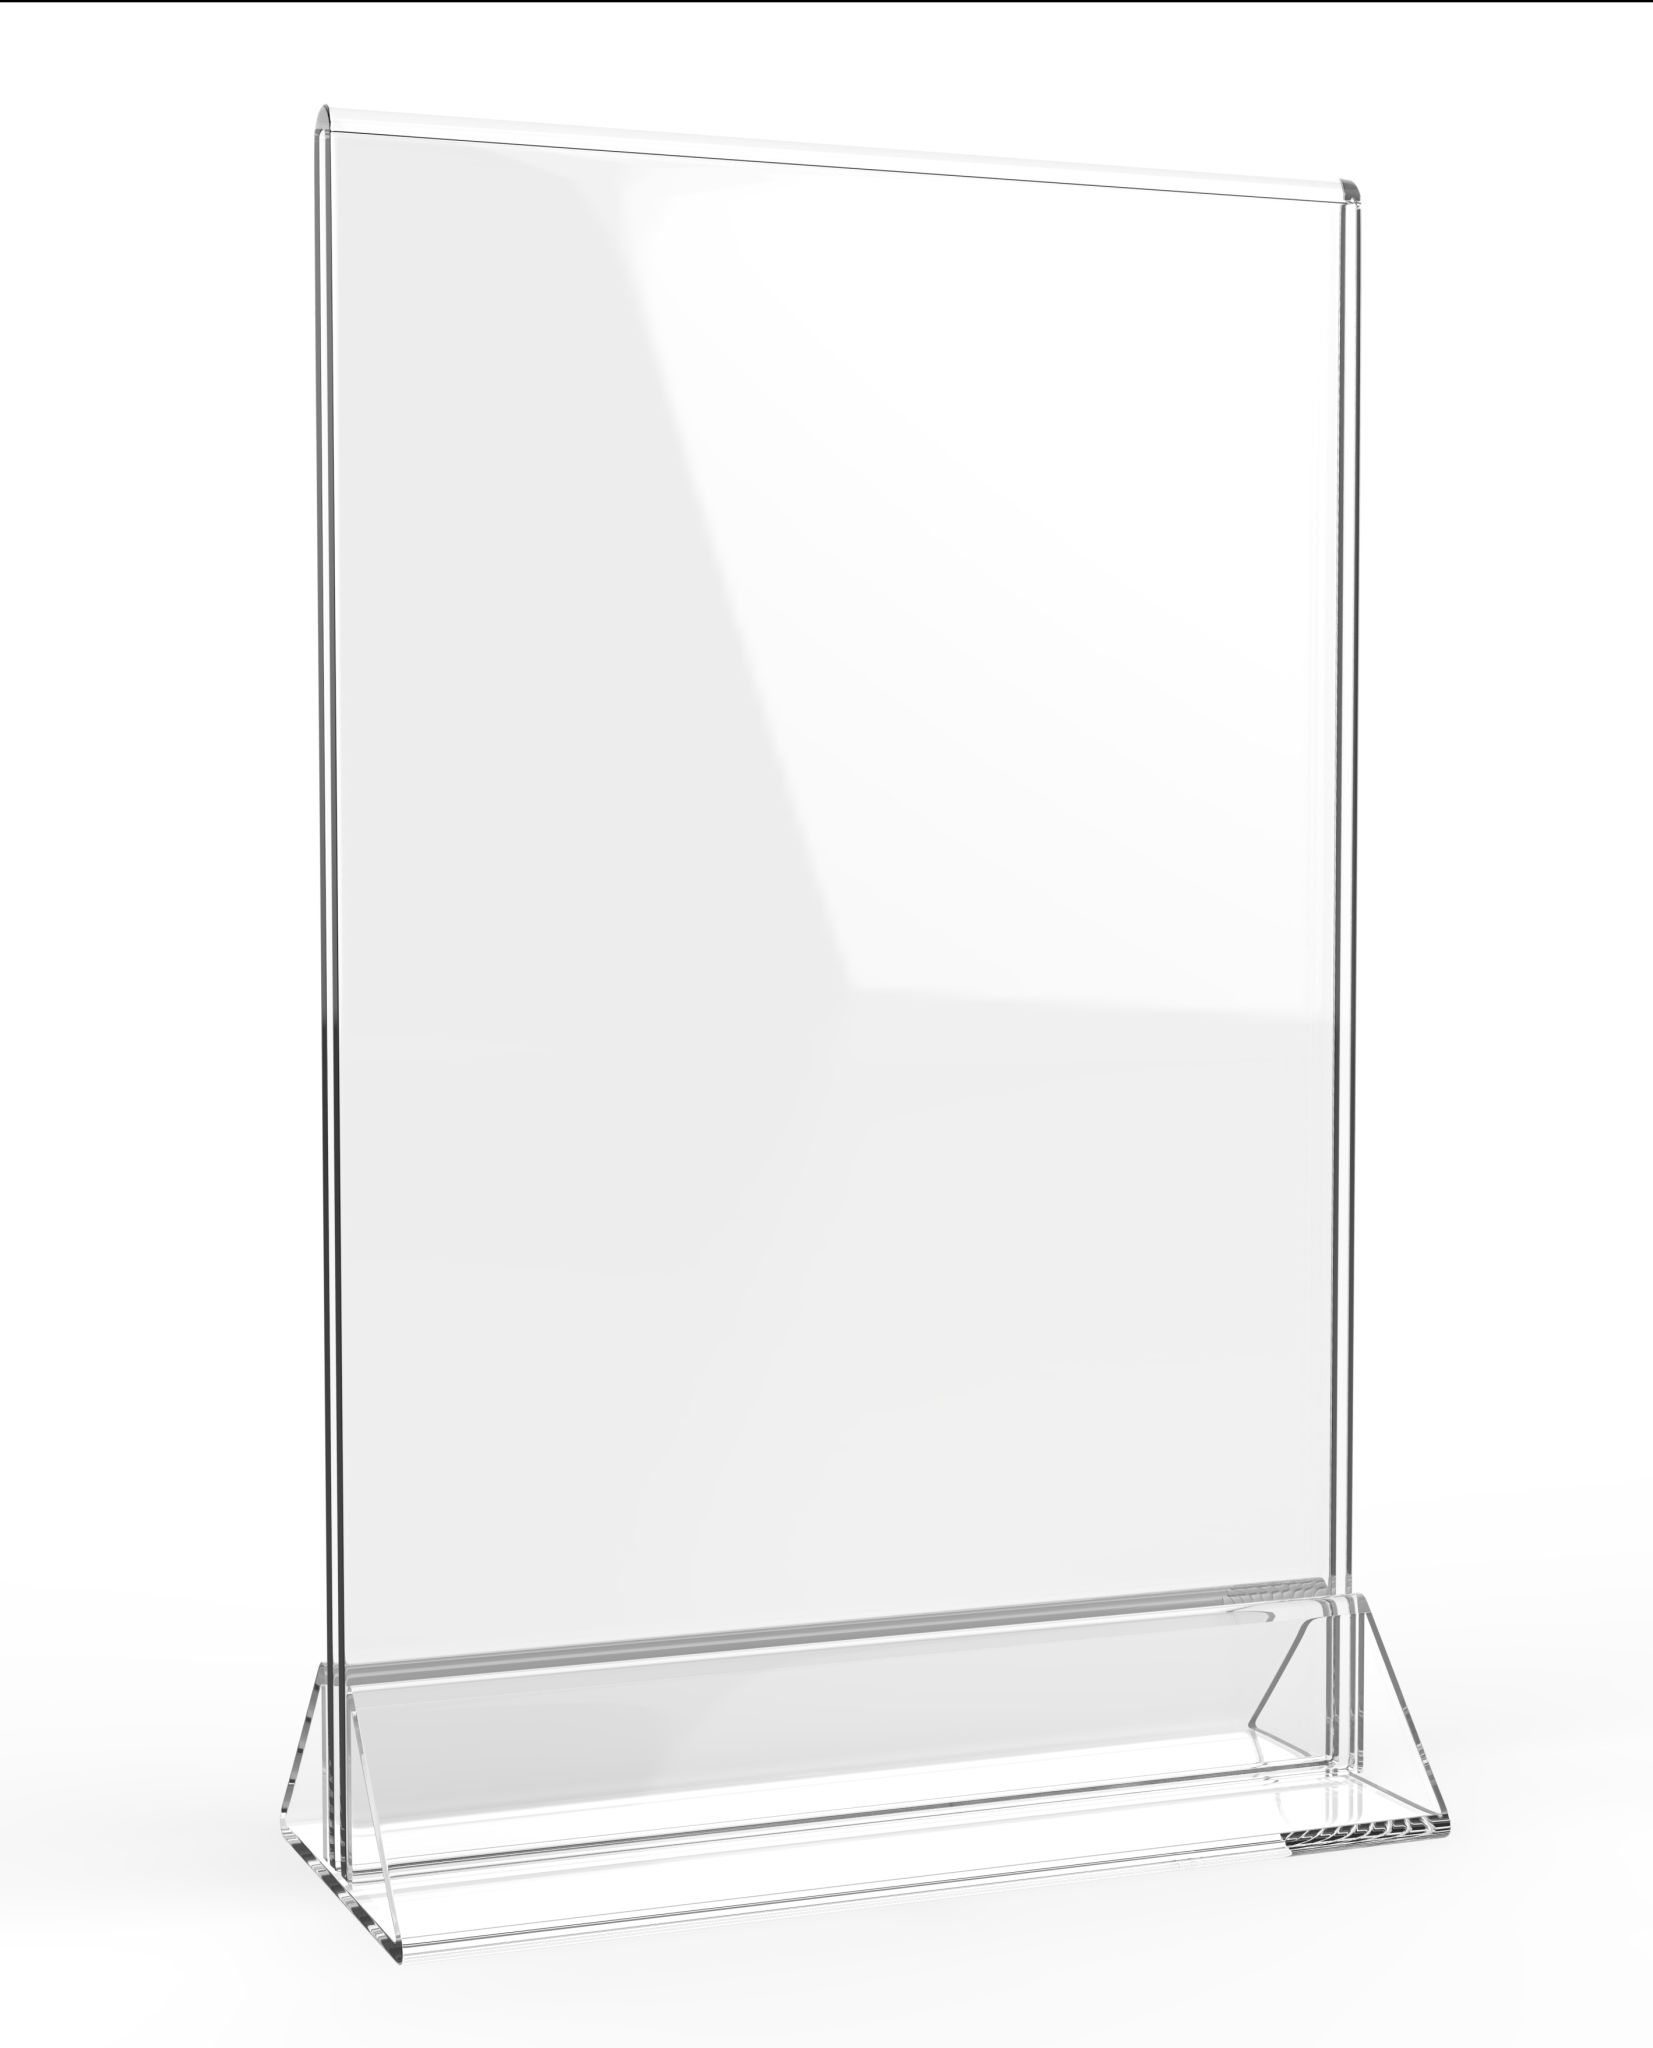
Creating your own acrylic card display can be a rewarding DIY project, perfect for showcasing business cards, greeting cards, or collectible cards. Acrylic displays are not only sleek and modern but also highly durable, making them an excellent choice for both personal and professional settings.
Gathering Your Materials
Before starting your project, you'll need a few essential materials. Here's a quick list to get you started:
- Acrylic sheets (available at most craft or hardware stores)
- Acrylic adhesive or super glue
- Cutting tool (a utility knife or acrylic cutter)
- Sandpaper or a file for smoothing edges
- Measuring tape or ruler
Having these materials ready will ensure a smooth crafting process.
Designing Your Display
When designing your acrylic card display, consider the number of cards you want to showcase and the display's overall size and shape. You can create a simple stand with a few slots or a more complex multi-tiered structure.

Sketch out your design on paper before cutting the acrylic. This will help you visualize the final product and make necessary adjustments to the design.
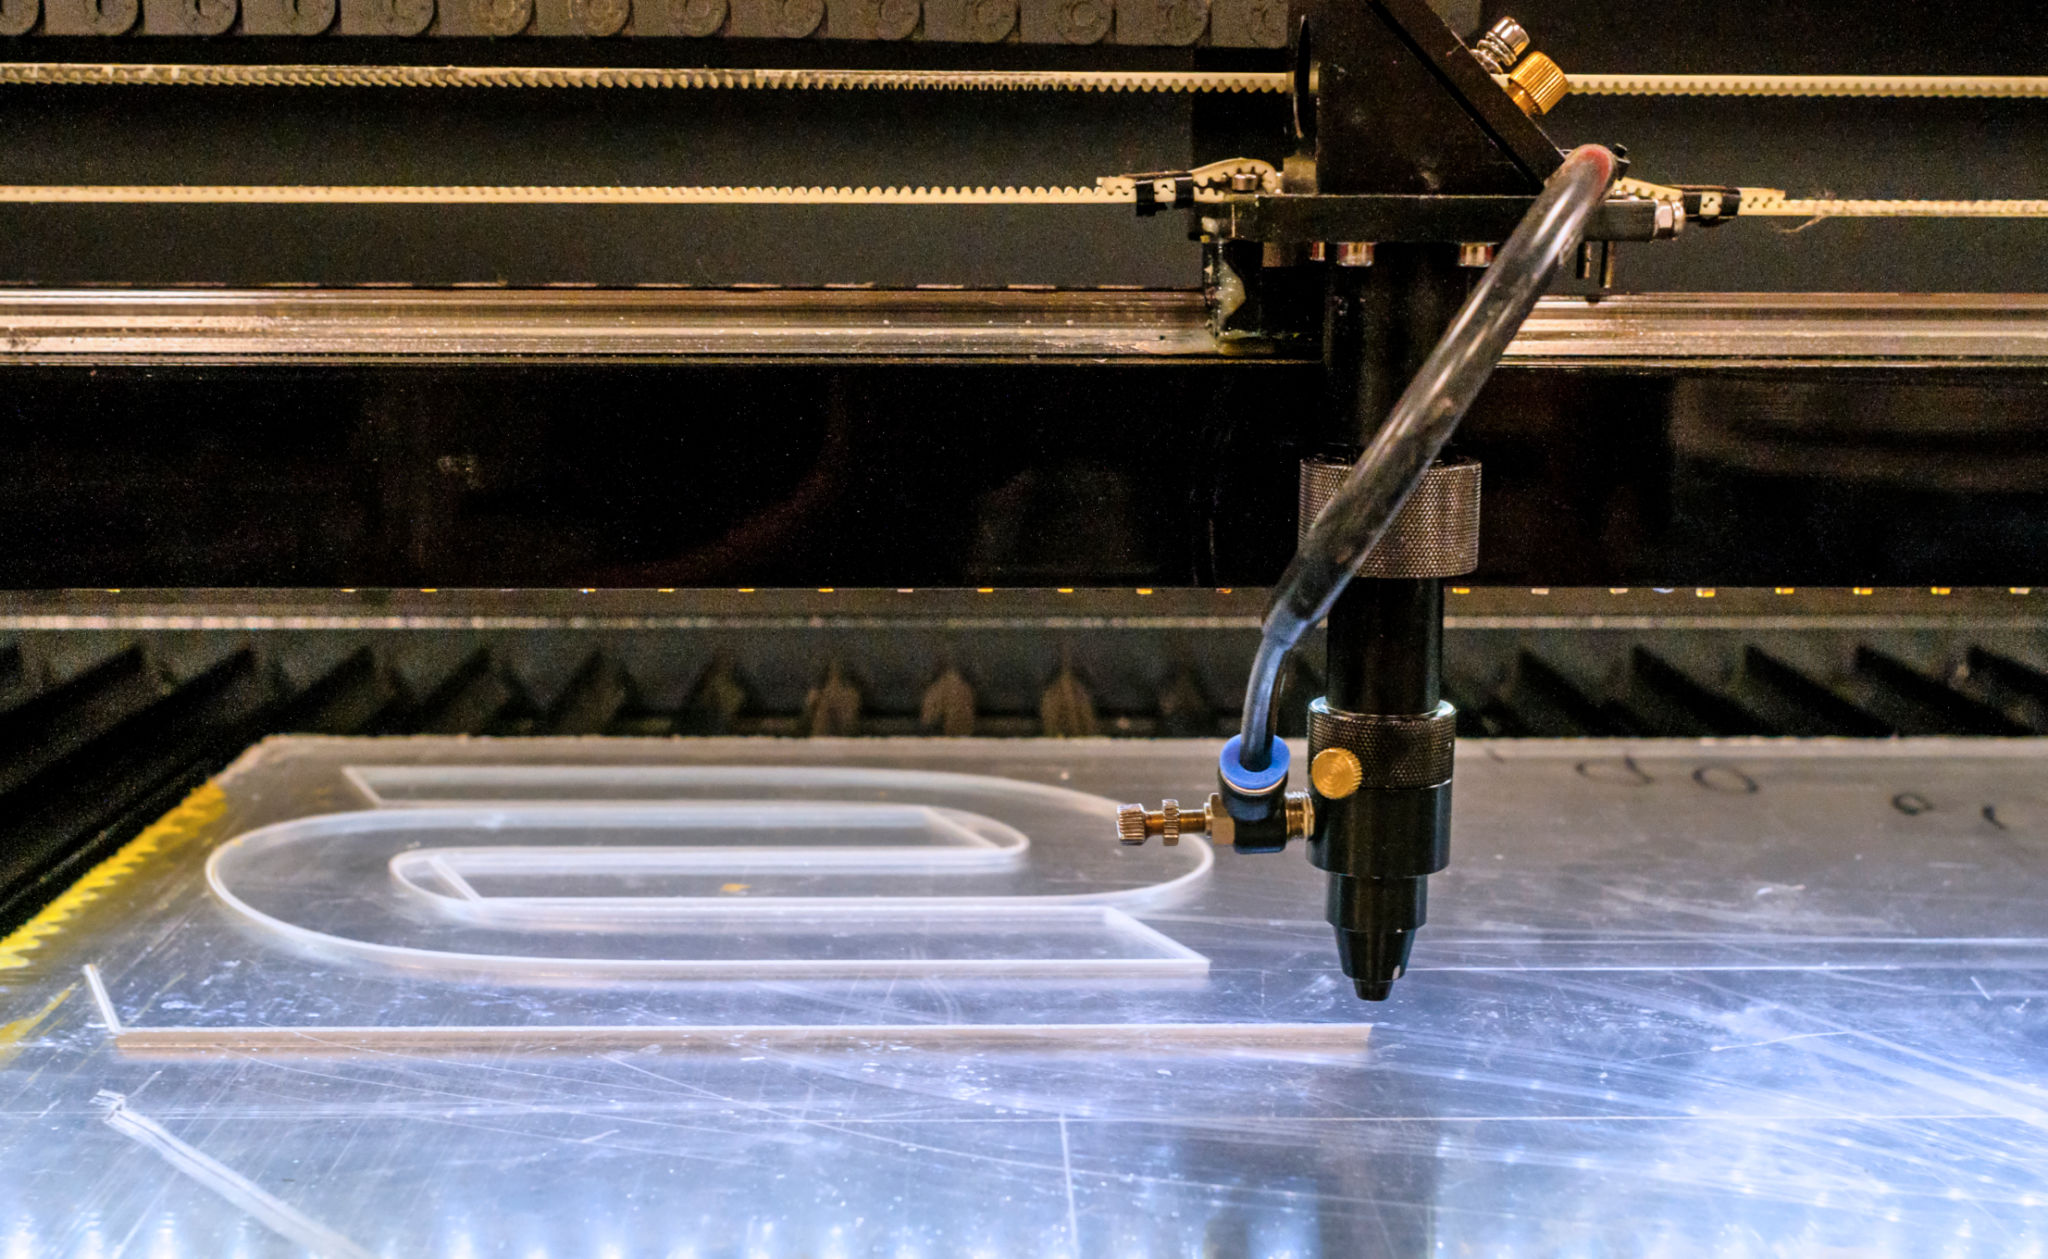
Cutting and Shaping the Acrylic
Once your design is ready, it's time to cut and shape the acrylic. Using a ruler, measure and mark the acrylic sheet according to your design. Carefully cut along the lines using a utility knife or an acrylic cutter. It's crucial to take your time with this step to ensure clean, precise cuts.
After cutting, use sandpaper or a file to smooth out any rough edges. This will not only improve the look of the display but also make it safer to handle.
Assembling the Display
With your pieces cut and smoothed, you can now assemble the display. Apply acrylic adhesive or super glue to the edges that will be joined. Press the pieces together and hold them in place until the adhesive sets. Be sure to follow the adhesive manufacturer's instructions for the best results.
If your design includes multiple levels or tiers, assemble each section separately before joining them together.
Finishing Touches and Maintenance
Once the adhesive has dried completely, your acrylic card display is ready for use. You might want to add some finishing touches, such as polishing the acrylic to give it a crystal-clear appearance.

Maintaining your acrylic display is simple. Regularly dust it with a soft cloth and avoid using harsh chemicals that could damage the acrylic.
Conclusion
Creating your own acrylic card display is a fun and practical DIY project. With a few materials and some careful planning, you can design a display that is both functional and stylish. Whether for personal use or to enhance your business space, an acrylic card display is a modern solution to showcase your unique collection.