DIY Guide: Building Your Own Trading Card Display Stand
Are you a trading card enthusiast looking to showcase your prized collection? Building your own trading card display stand is a fantastic way to keep your cards safe while also displaying them in an attractive manner. Whether you are displaying Pokémon, Magic: The Gathering, or sports cards, a DIY display stand can be customized to suit your needs. In this guide, we’ll walk you through the steps to create a stunning display for your treasured cards.
Gathering Materials
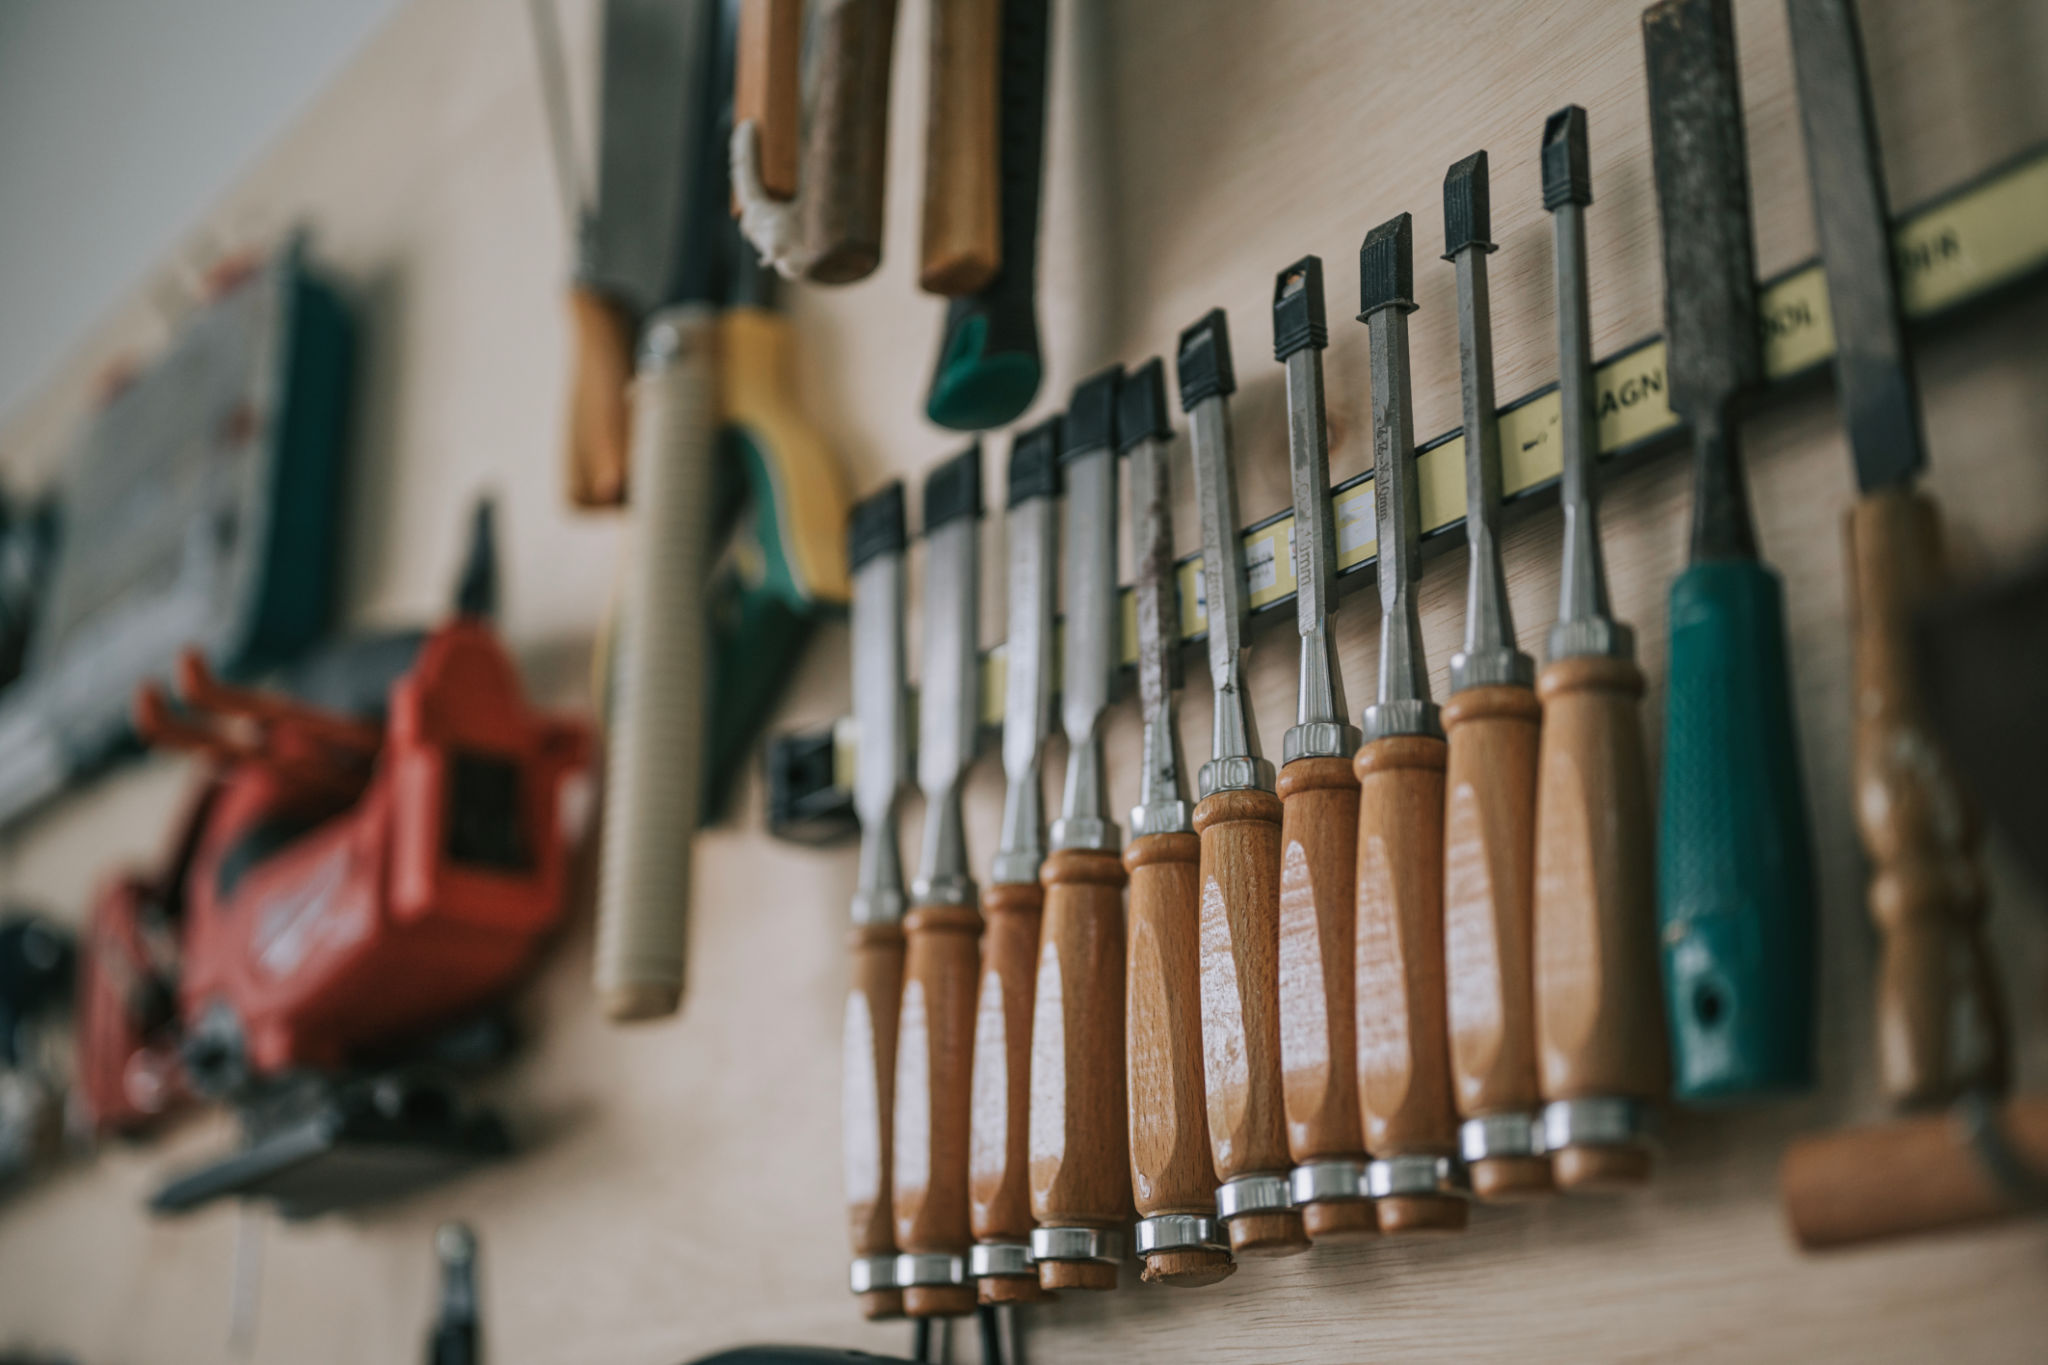
Before starting your project, gather all the materials you’ll need. You will require some basic supplies, most of which can be found at a local hardware store. Here’s a list to get you started:
- Wooden boards or acrylic sheets
- Wood glue or strong adhesive
- Screws and a screwdriver
- Sandpaper
- Paint or wood stain (optional)
- Measuring tape
- Saw (if cutting wood)
Having these supplies ready will ensure a smooth and enjoyable crafting experience. Make sure to measure the space where you plan to put the stand, as this will determine the size of the display.

Designing Your Display Stand
The design of your display stand is crucial for both aesthetics and functionality. Decide on the number of tiers you want for your stand. A typical choice is a three-tiered design, which provides ample space for displaying numerous cards while maintaining a compact footprint.
Sketch out your design on paper before you start cutting any materials. This will give you a clear idea of what the final product will look like and help you make necessary adjustments. You can also explore online resources for design inspiration. Remember, the goal is to create a display that highlights your collection while fitting comfortably in your chosen space.
Cutting and Assembling
Once your design is finalized, it’s time to start cutting the wood or acrylic sheets. Use the saw to cut the materials according to your measurements. Safety first! Ensure you are wearing protective gear while handling tools.
After cutting, use sandpaper to smooth out any rough edges. This step is important not only for aesthetics but also for safety, as it prevents splinters. Next, assemble the pieces using wood glue or adhesive for acrylic sheets. For added stability, you may want to secure the pieces with screws.

Finishing Touches
With the basic structure assembled, you have the option to paint or stain your display stand. This is where you can really let your creativity shine. Choose colors that complement your room decor or match your trading card theme. Allow ample drying time before moving on to the next step.
If you’re showcasing cards with specific themes, consider adding unique decorative elements like decals or engravings that resonate with your collection’s theme. These details can make your display stand even more personalized and special.
Arranging Your Cards
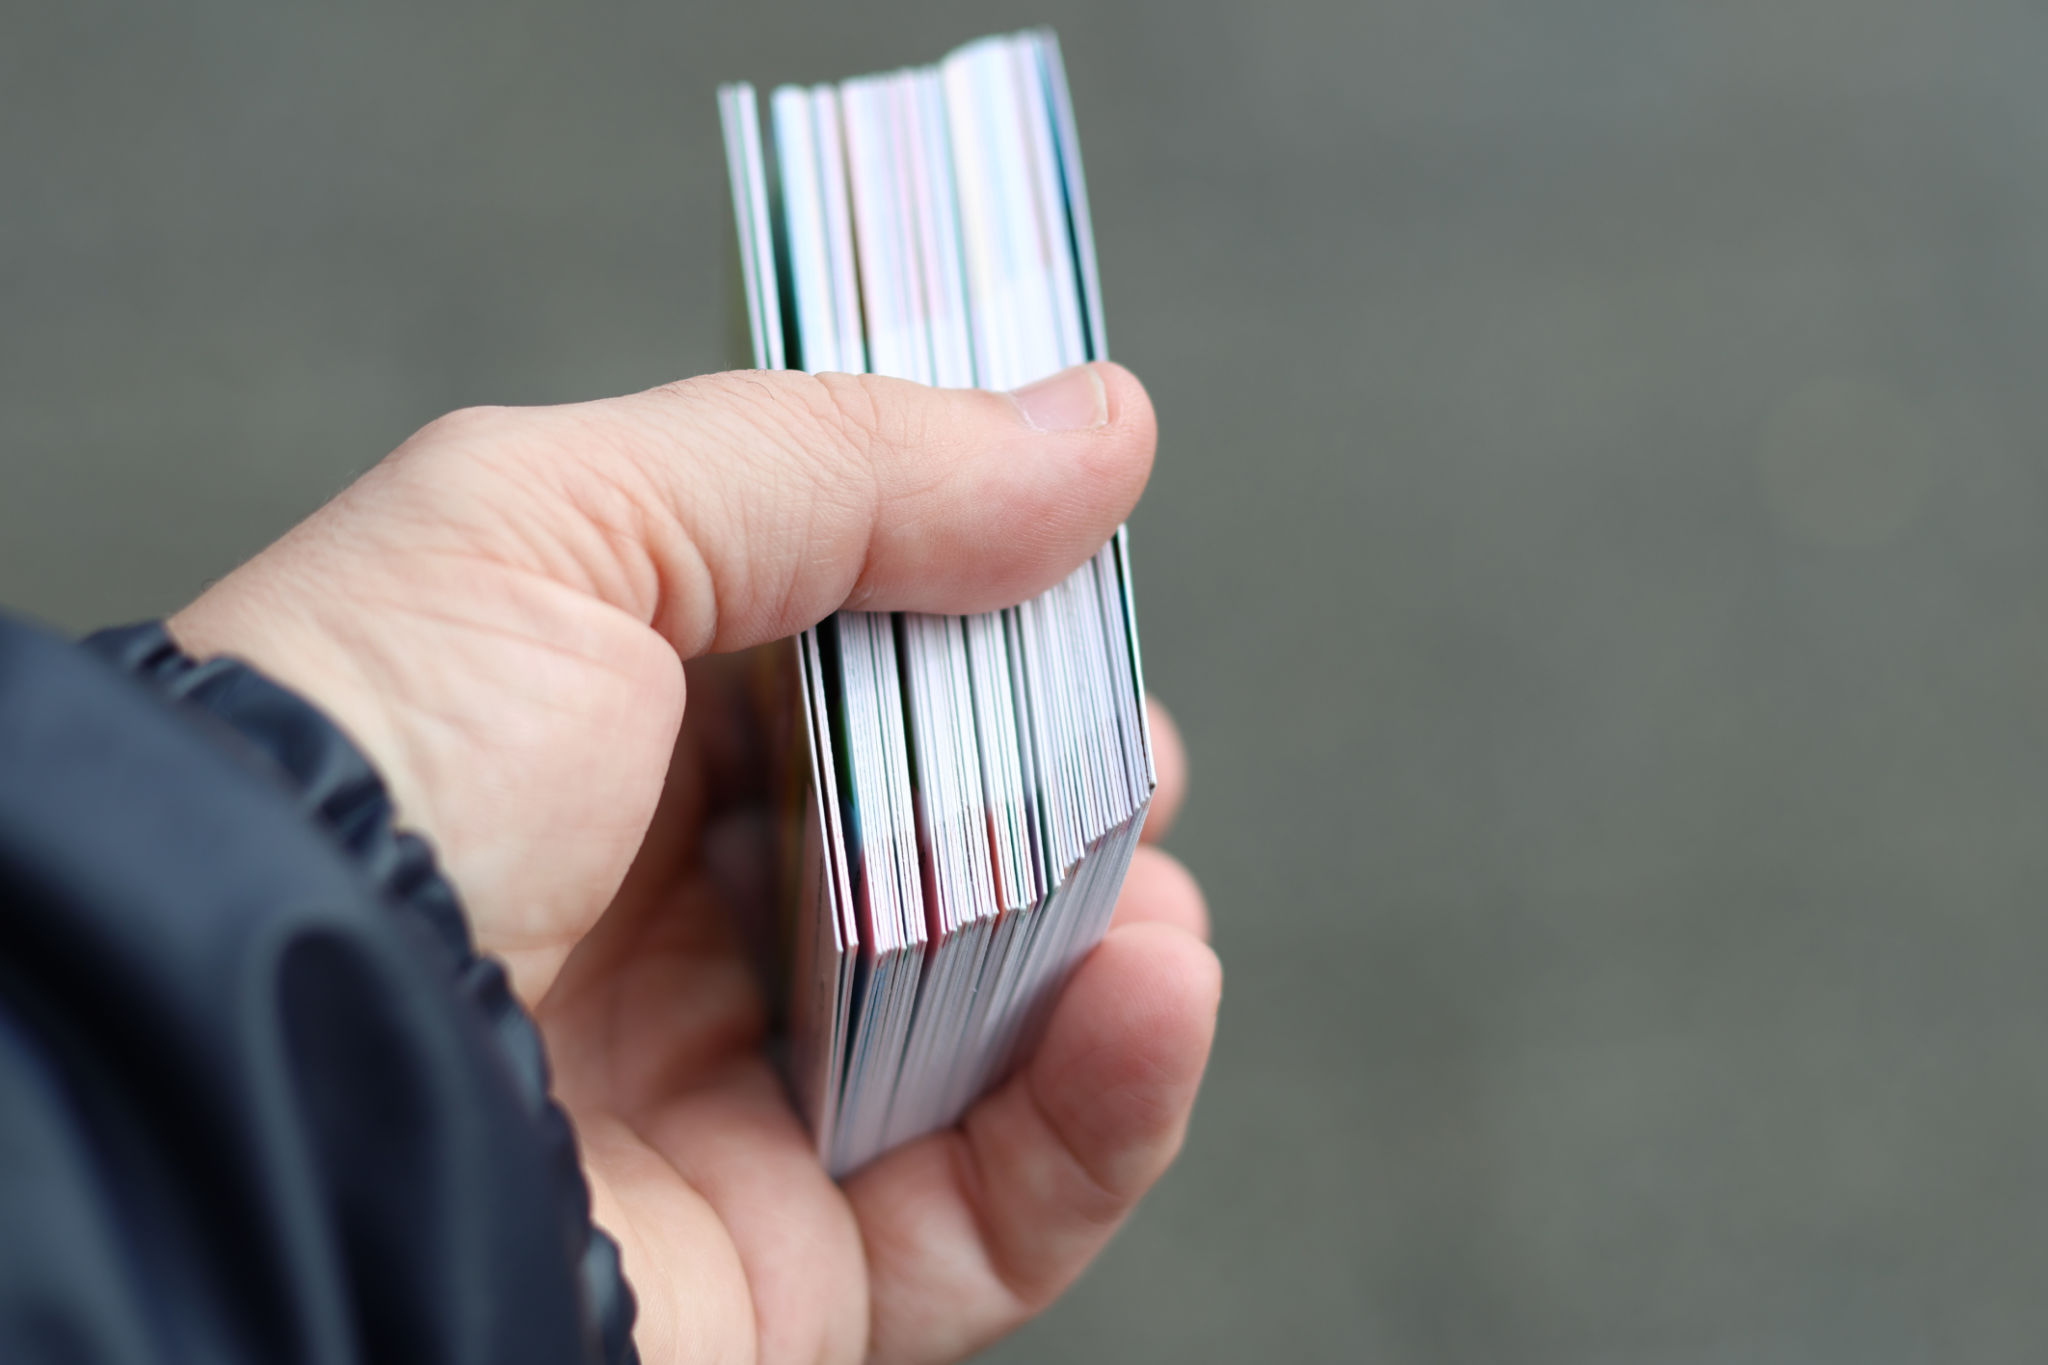
Once your display stand is complete and the finish has dried, it’s time to arrange your cards. Depending on your preference, you can organize them by type, rarity, or personal favorites. Consider using card sleeves or protective cases to keep them in pristine condition while they’re on display.

Your DIY trading card display stand is now ready to take center stage in your home! Not only does it serve as a functional piece of furniture, but it also acts as a conversation starter for guests who share your passion for collecting. Enjoy showcasing your cards in style and the satisfaction of knowing you built it yourself.